
Knowledge Base

Connecting to your Windows server is quick and easy with Remote Desktop Protocol (RDP). In this guide, we will walk you through the simple steps to access your server from any Windows device.
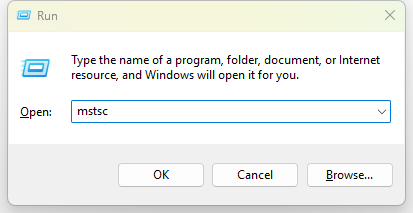
On your Windows device, open the Remote Desktop Connection application:
Press the Windows Key + R on your keyboard.
Type mstsc and press Enter. Alternatively, you can search for "Remote Desktop Connection" in the Start Menu and click on the application.
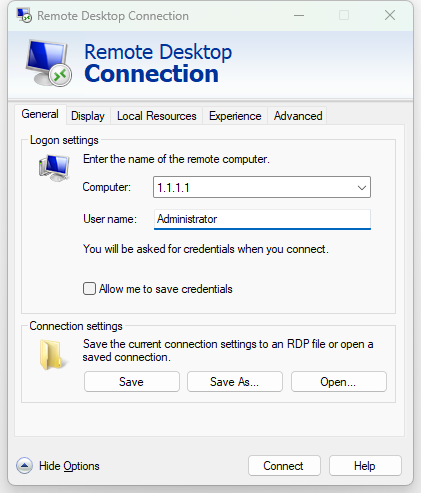
In the Remote Desktop Connection window:
Locate the field labeled Computer.
Enter the IP address of your server (e.g., 123.45.67.89).
Once entered, click on Connect to proceed.
When prompted:
Enter the Username provided to you (commonly Administrator).
Enter the Password provided to you.
Click OK to continue.
You may see a warning message stating that the identity of the remote computer cannot be verified. This is normal.
Check the box "Don't ask me again for connections to this computer" (optional).
Click Yes to proceed.
After a few seconds, you will be connected to your server. You can now use it just like you would use a regular Windows computer.
If you encounter any problems or need additional assistance with connecting to your server, please feel free to contact our support team by creating a ticket or emailing us at support@virteche.com. We are here to help ensure your experience is smooth and trouble-free.