
Knowledge Base
In addition to managing your VPS through your client area on virteche.com, you can also access a full control panel for more advanced management options. This guide will walk you through how to log in and navigate your VPS control panel.
First, log in to your client area on virteche.com.
Navigate to My Services and click on the server you want to manage.
On the server page, click on the Panel Login button.
This will redirect you to our VPS control panel at cloud.virteche.com.
You will see the login page:

Email: This will be the same email address you use for your virteche.com account.
Password: This is the password that was provided in the Service Activation Details when your first server was created.
If you no longer have your password, you can simply click Forgot Password on the login page to reset it.
Once logged in, you will see a list of your VPS servers, along with basic information like server status, resources, and management actions.
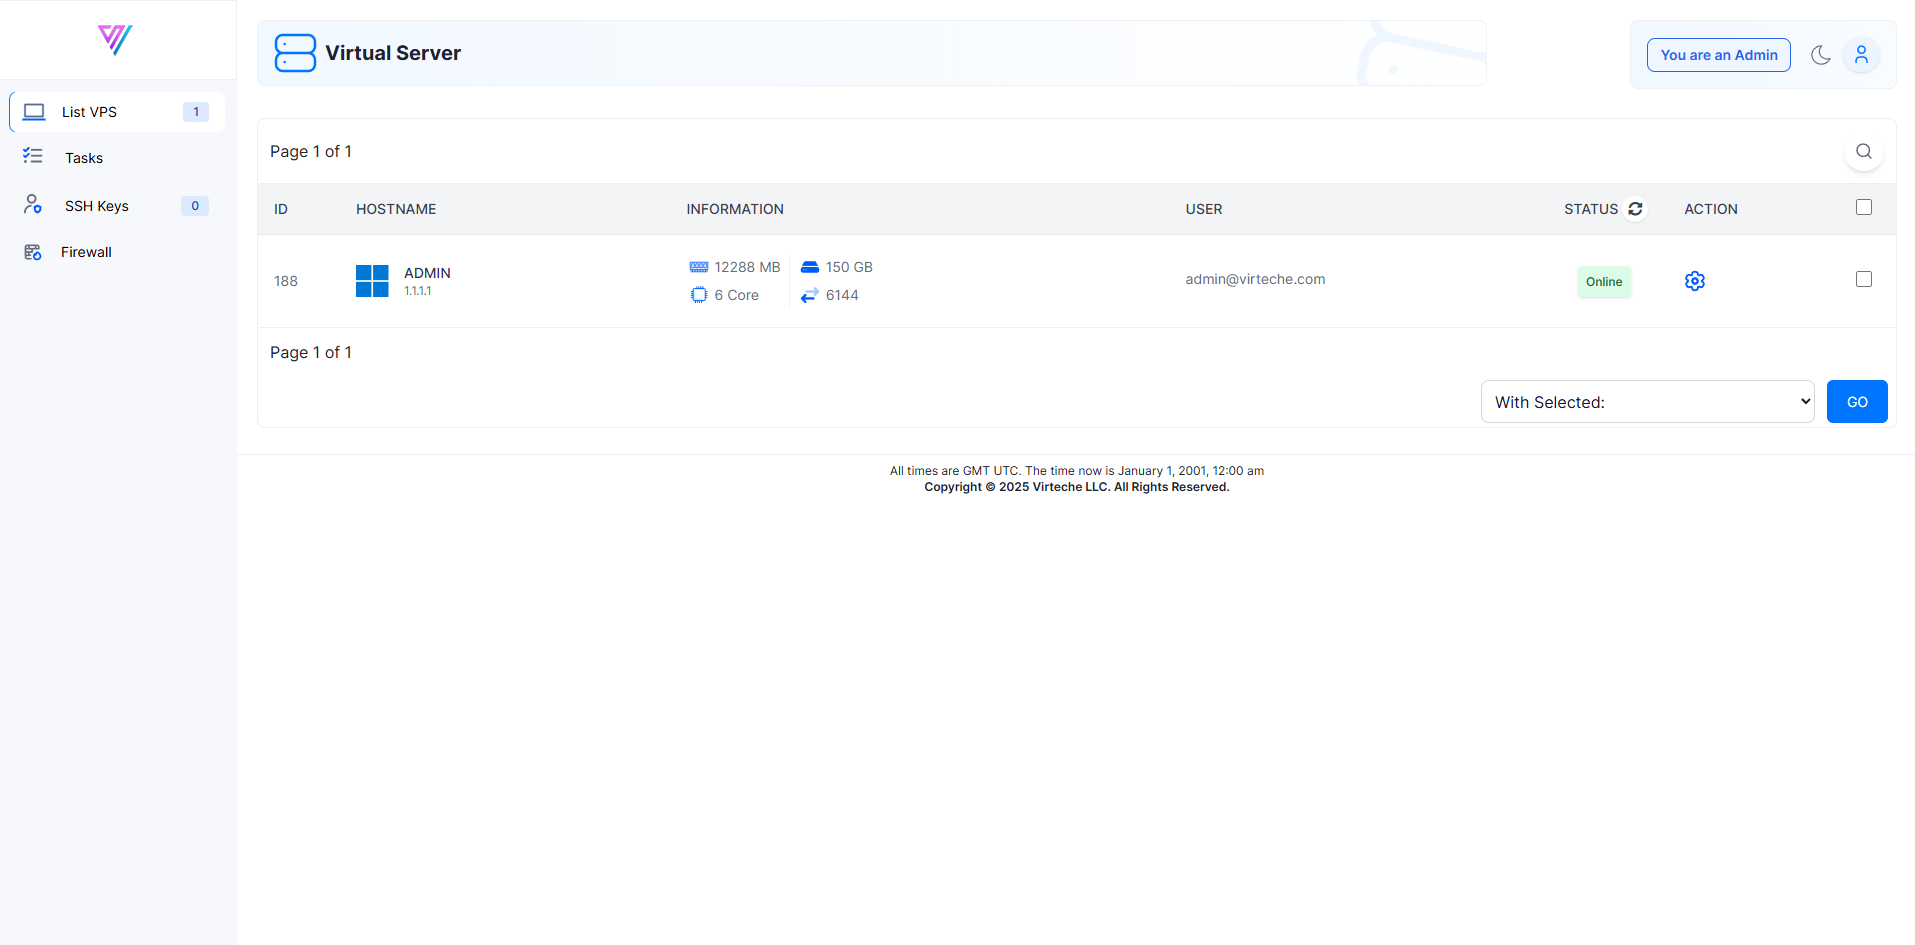
To manage a specific VPS:
Click on the gear icon (⚙️) next to your VPS.
This will bring you to a detailed VPS management page.
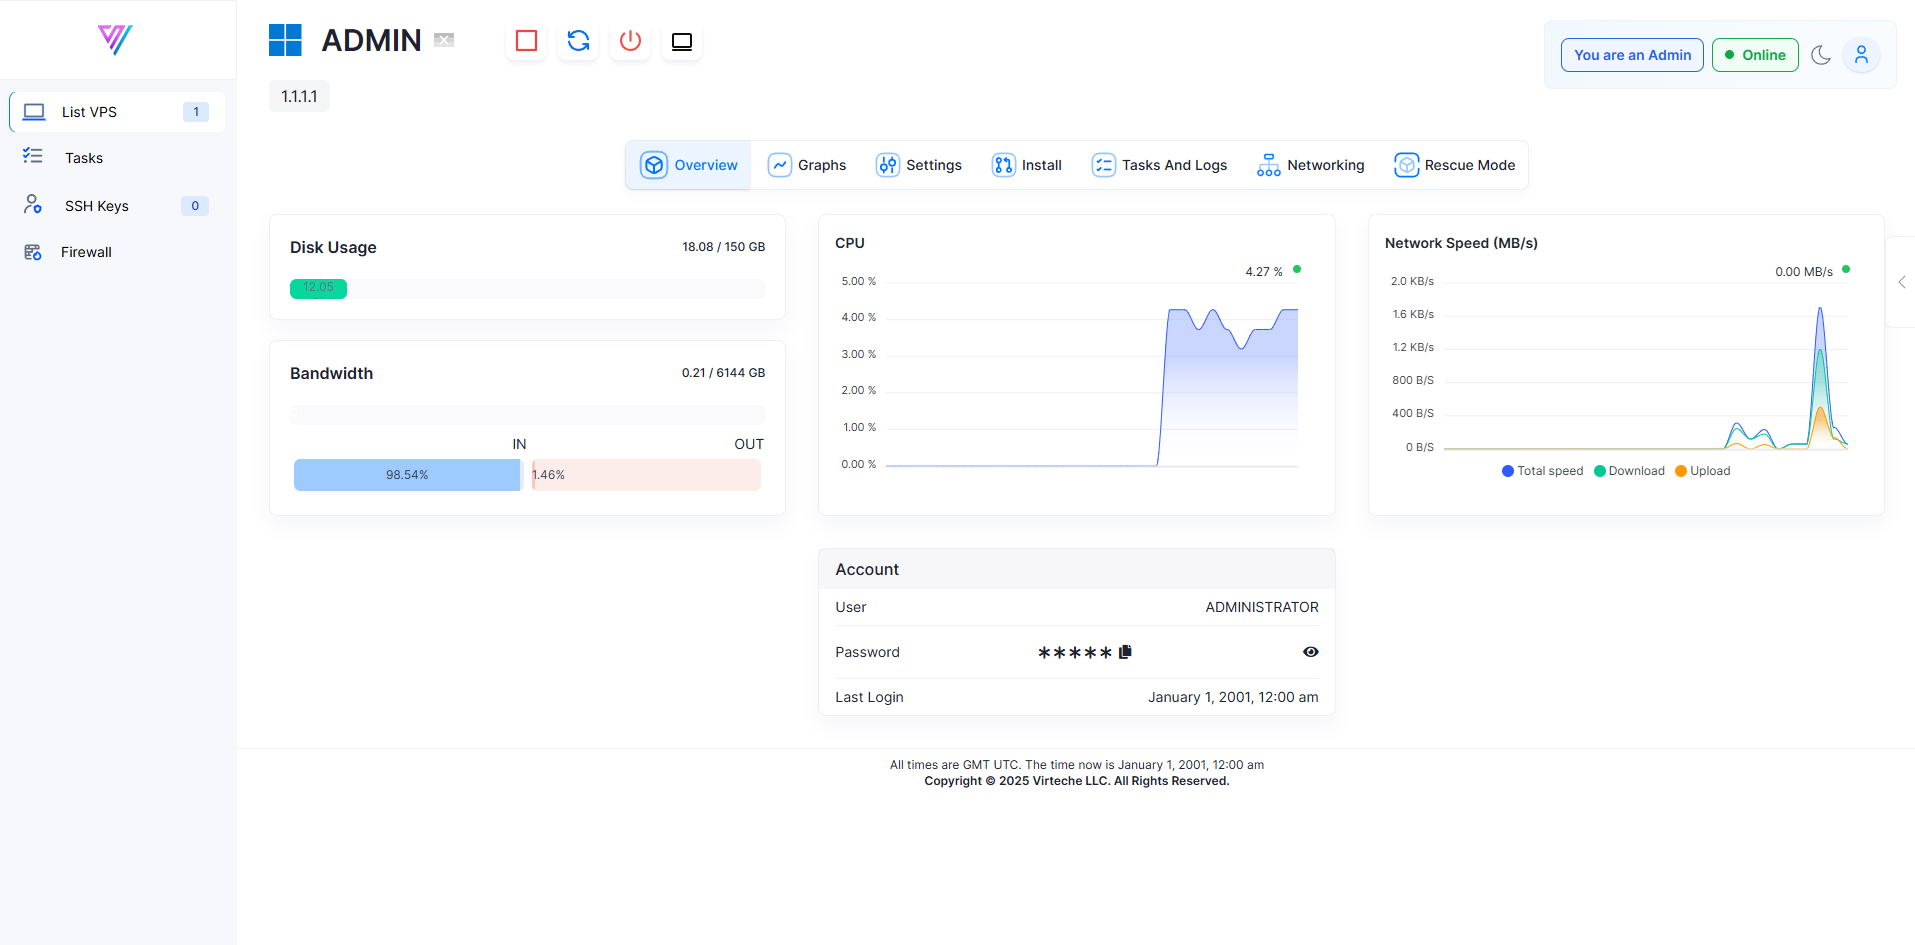
Here, you will find a wide range of options including:
Overview: Check resource usage like CPU, Disk, and Bandwidth.
Graphs: View detailed charts of your server’s bandwidth and system usage.
Settings: Change VPS settings like the hostname, reset the VNC password, and view your SSH keys.
Install: Reinstall the operating system if needed.
Tasks and Logs: Monitor server tasks and actions.
Networking: Manage IP addresses and firewall rules.
Rescue Mode: Boot your server into rescue mode for emergency fixes.
Resetting Passwords: If you ever reset your password from cloud.virteche.com, it will only affect the panel login, not your server itself.
If you have any trouble accessing your VPS control panel or managing your server, please create a ticket or email us at support@virteche.com. Our team is ready to help you get the most out of your services.